
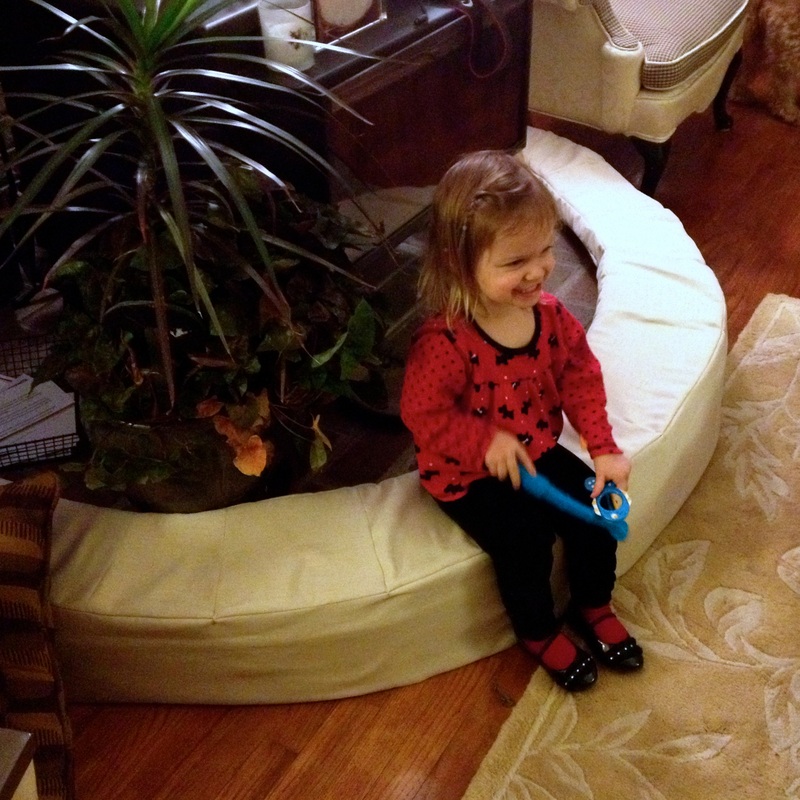
pretty sure we didn't have anything this cozy growing up
| 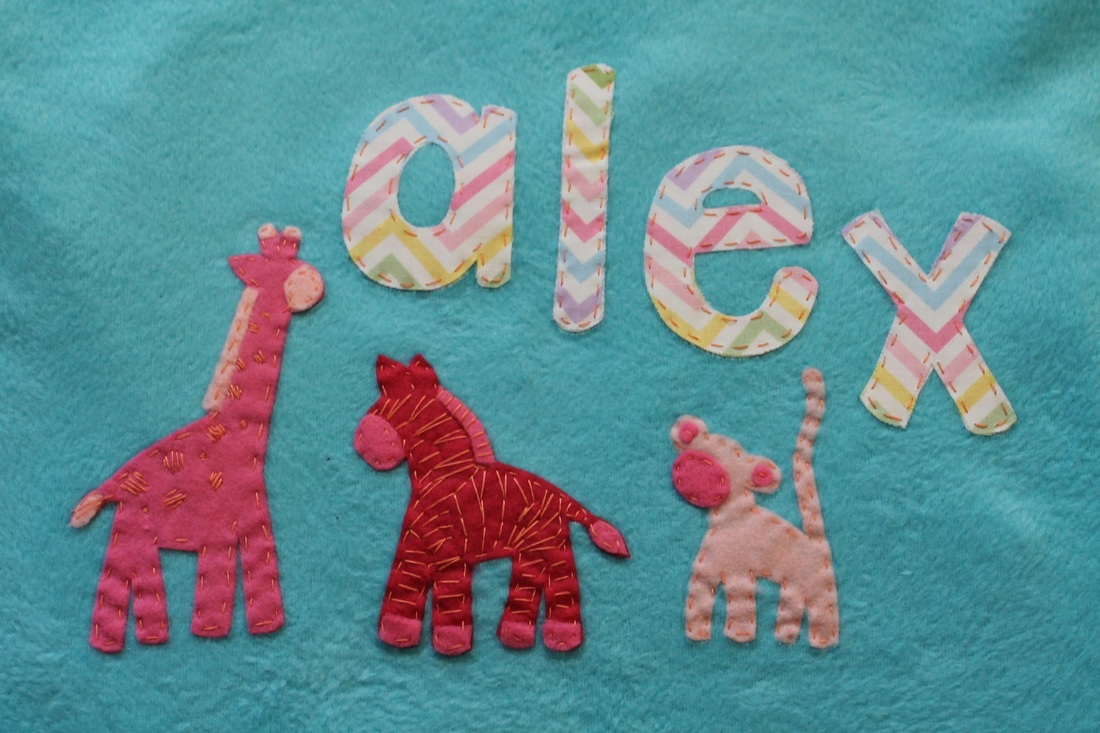
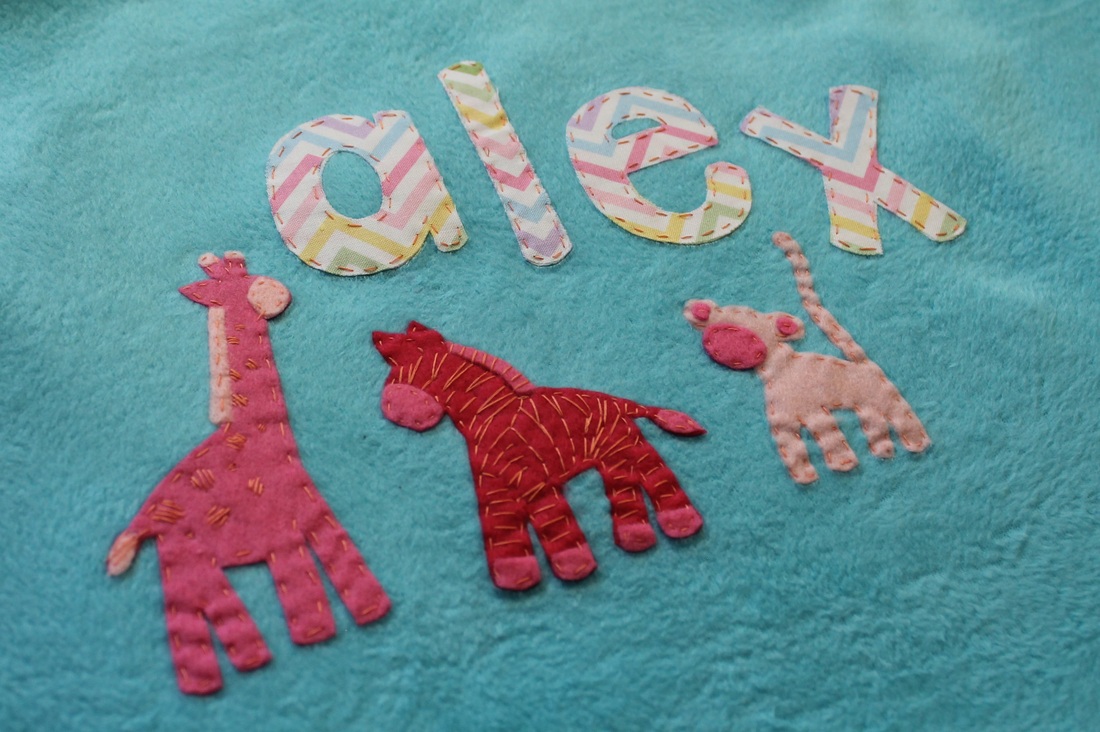
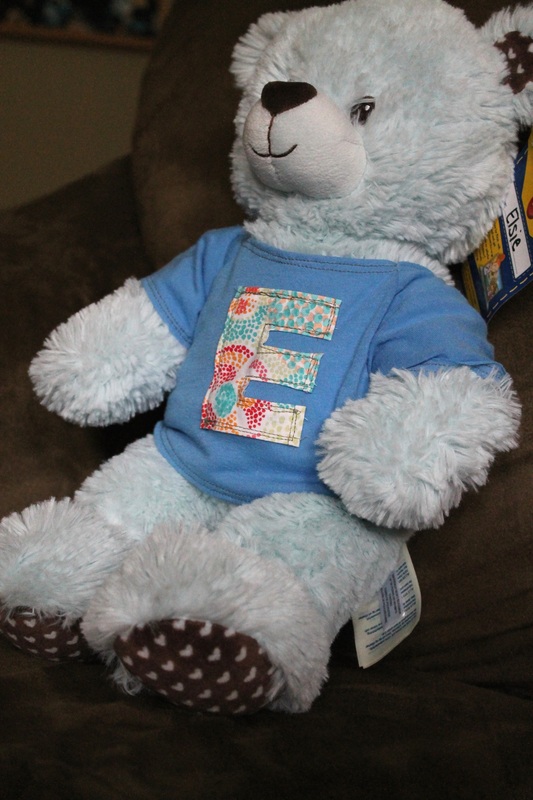
a giraffe for abbe, a zebra for alex, and a monkey for elsie = perfectly "awww" worthy
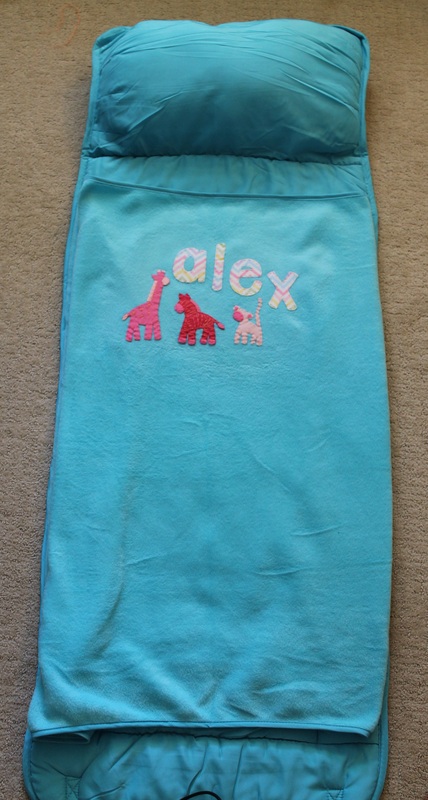
my sister and her husband had been able to watch their cutie of a niece for close to 2 years before deciding (with a third baby on the way) that it was time to give up babysitting. what a blessing it is for family to be your watch your babies for any amount of time- MY! all the genuine love and attention they got to give their niece! so, it only made sense that they would send her off to day-care with a special present: enter the "nap mat". basically, it's a sleeping bag, kiddie sized, with a cushy pillow and a soft blanket attached. they got it embroidered with her initials but still wanted to go the extra mile and asked me to do a little something, too. here is what i came up with based on their request: hand stitched, ironed on, felt animals and her name. the animals are even cuter when you realize that each one represents little alex and her cousins. |


 RSS Feed