• Blog
  • About
  • Invitations
  • Chalkboards
  • Gallery
  • Contact

Emily's Finished Nursery 

1/15/2013

1 Comment

 
Picture

Before......

Picture

After!!!

Picture
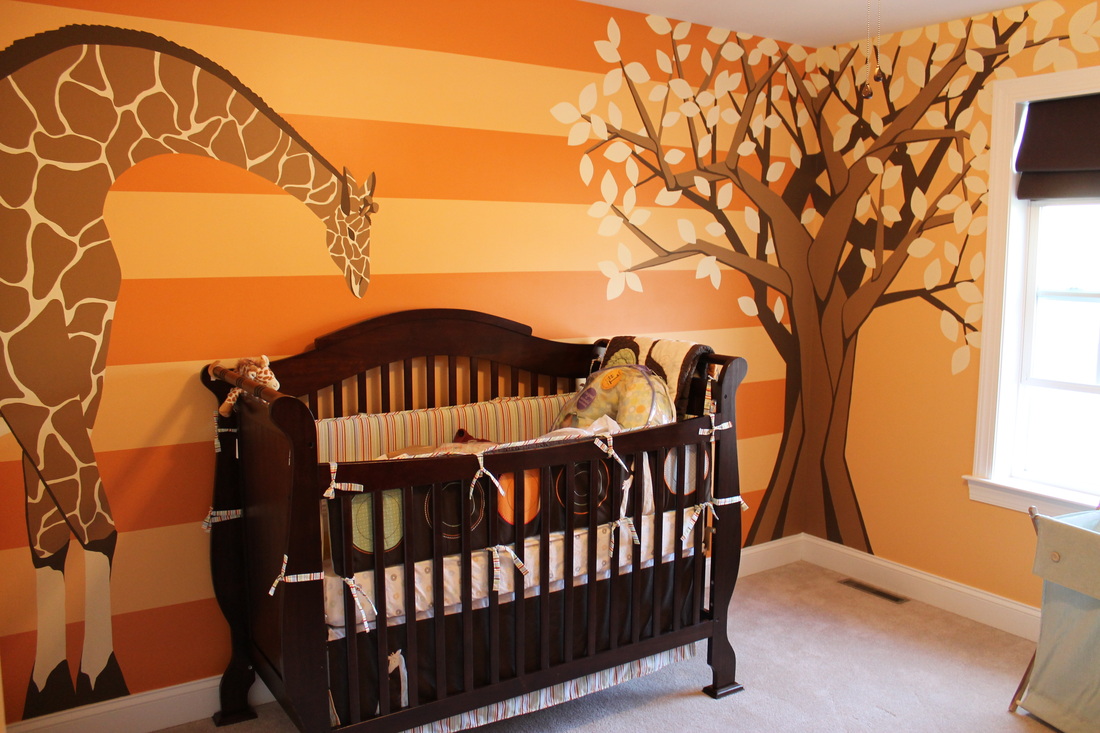
What a loooooonnnggg journey! The room was basically a blank slate. I started at 15 weeks pregnant with just the mural. And now, at 38 weeks we are finally finished! Major credit goes to my husband for installing the super nice fan with a dimming light. There was no light at all before. Now the only thing we're waiting on is a grey zig-zap rug and Emily herself! 
Picture
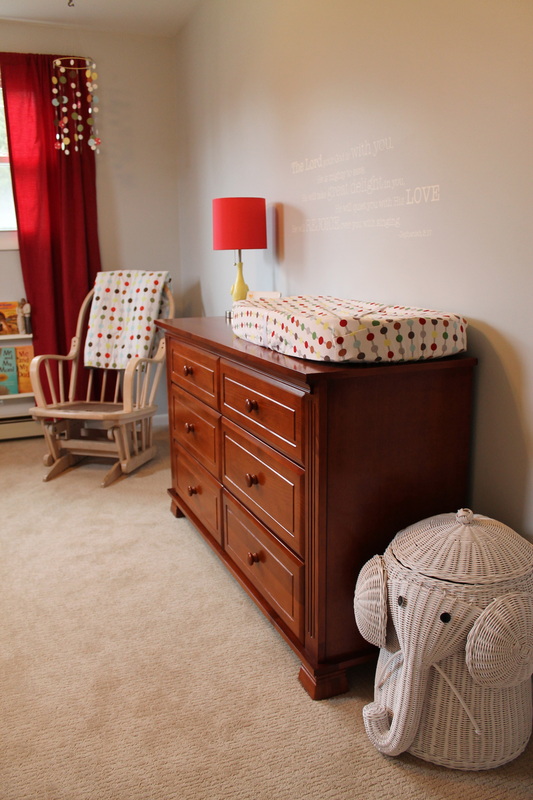
I LOVE this picture because you can see the awesomely-cute hamper my mother-in-law bought us AND all my projects! (mobile, lamp, wall verse, shelves) Ignore the unfinished and cushion-less chair/glider- its just a place holder for where our real chair wil go.... OH! and picture a rug too.
Picture
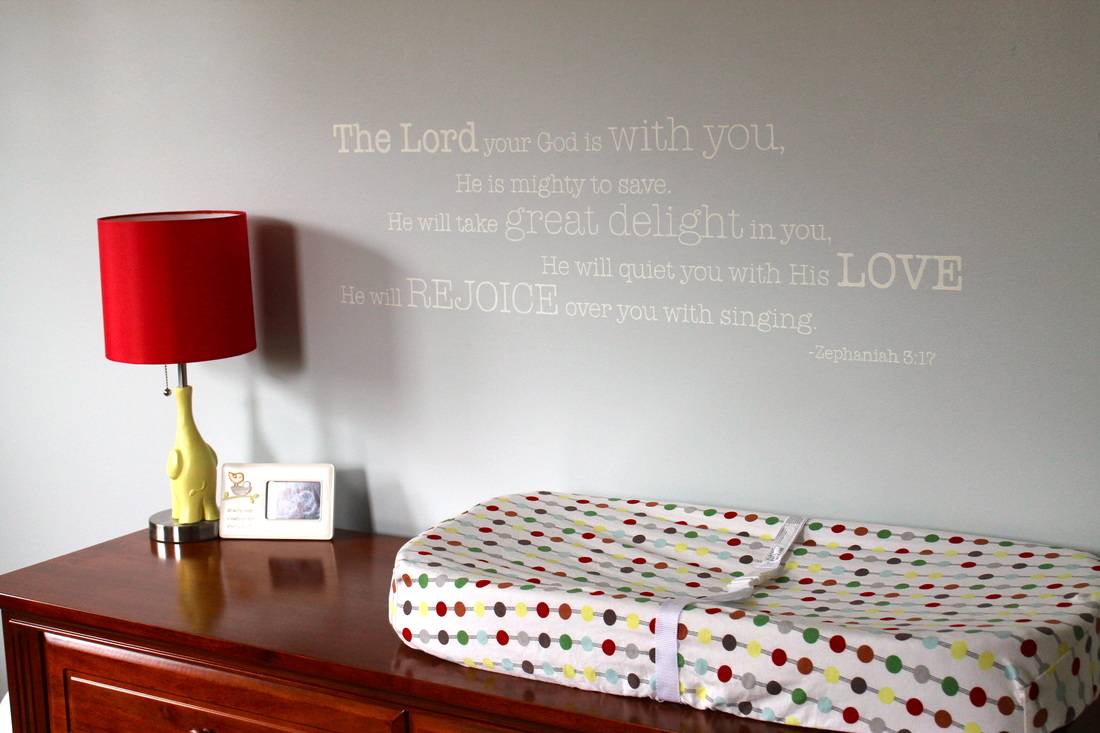
verse on wall is Zephaniah 3:17
Picture
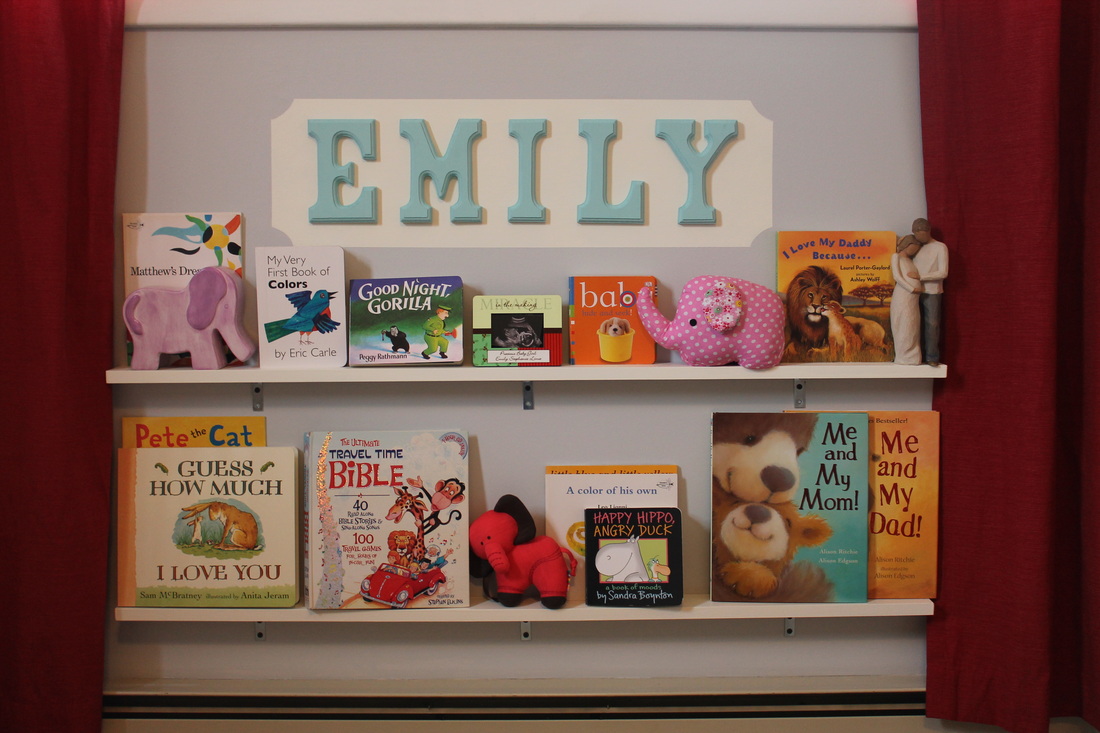
I think my favorite part is the shelves we put up under the window. Eventually when she can do some damage we'll switch out some of the more breakable things but the idea is that she can reach all of her books!
Picture
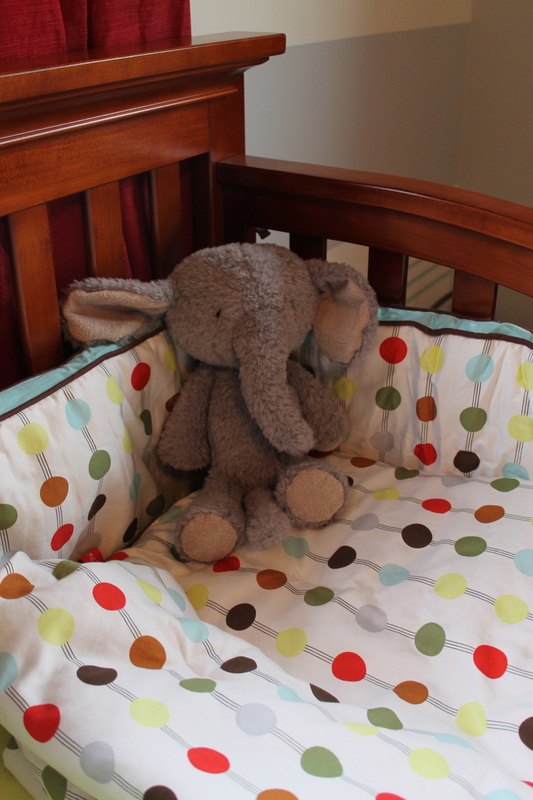
ok so probably all these things will go when Emily is actually here... but they are still cute! We loved this stuffed elephant from our friend Lindsay :)
1 Comment

Lamp and Mobile for Emily

1/15/2013

0 Comments

 
Picture
Picture
As soon as we picked elephants to be a theme for Emily's room i saw ....

<----- this really cool lamp on Pinterest and i thought to myself "I can do that!"

I basically did everything this woman did except i wasn't half as picky with the sanding and i didn't carve quite so intricate an elephant. Her's is also a lot bigger judging by the pictures on her blog. At any rate it was a GREAT idea and i LOVE how my lamp turned out..... well i LIKE it at least. 

Picture
Then we had this random hook in the corner of her room that was just asking for a hanging..... anything. So since our other theme (crib bedding) is dots - I thought i'd do something with that. 

All i needed was a bigger circle hole punch and the right color paper to match the bedding. I already had a metal ring to hang the dots from. Step 1: cut out a bunch of dots. Step 2: Arrange around metal hoop thing. Step 3: Sew the dots together. Thats right just put them right through the machine and let it go for a set amount of stitches before feeding in the next circle. Step 4: Paint the ugly gold metal. Step 5: Tie the strings around, spacing evenly and ... hang! 

Picture
0 Comments

Bailee's Room

1/8/2013

0 Comments

 
Picture
Wow, did i underestimate what i would be like painting a mural while 8 month's pregnant! Needless to say, i don't think i'll schedule something like this again. After 6 days (i could only work 4 or 5 hours at a time) I finally finished baby Bailee's beautiful mural :). Even though it took a couple more days than expected I LOVE the finished product. This is one lucky girl with a great set of parents and now a super cool room!
<----- Just for fun i thought i'd include a little slide show of the process for the giraffe. It really helped to have such a planned out sketch (to scale i might add) because i used it SO MUCH when doing the actual work on the walls. Also, creating a paper stencil for the outline of the giraffe helped A LOT with getting it just right AND not having to paint over sketchy pencil mistakes a million times. 
0 Comments
    Picture

    Categories

    All
    30 By 30
    Baby Shower Gift
    Birthday
    Cake Topper
    Ceramics
    Chalkboard
    Christmas
    Commissioned Work
    Crafty
    Design
    Drawing
    Halloween
    House Update
    Life
    Logo
    Mural Painting
    Sewing
    Shower Invitation
    Wedding Design
    Wedding Invitations

    Archives

    August 2014
    July 2014
    June 2014
    May 2014
    April 2014
    May 2013
    April 2013
    March 2013
    January 2013
    December 2012
    October 2012
    September 2012
    August 2012
    July 2012
    January 2012
    November 2011
    October 2011
    September 2011
    August 2011
    May 2011
    April 2011

    RSS Feed